- PHDI Google Cloud Platform Implementation Guide
- Introduction
- Implementing the PHDI Google Cloud Platform Pipelines
- User Assumptions
- Step 1: Prepare Your GCP Environment
- Step 2: Install the Gcloud CLI
- Step 3: Fork the phdi-google-cloud Repository
- Step 4: Clone the Forked Repository
- Step 5: Run the Quick Start Script
- Step 6: Set Repository Secrets
- Step 7: Run the Terraform Setup GitHub Workflow
- Step 8: Create a Development Environment
- Step 9: Run the Deployment GitHub Workflow
- Step 10: Run an Hl7v2 vaccination message through the pipeline
This document provides a detailed guide for implementing the PHDI pipelines provided in this repository.
The Public Health Data Infrastructure (PHDI) project is part of the Pandemic-Ready Interoperability Modernization Effort (PRIME), a multi-year collaboration between CDC and the U.S. Digital Service (USDS) to strengthen data quality and information technology systems in state and local health departments. Under the PRIME umbrella the PHDI project seeks to develop tools, often referred to as Building Blocks, that State, Tribal, Local, and Territorial public health agencies (STLTs) can use to better handle the public health data they receive. The purpose of this repository is to implement the Building Blocks provided in the PHDI library on Google Cloud Platform (GCP). This will allow users to start using these Building Blocks easily in their own GCP environment.
PHDI's goal is to provide STLTs with modern tools to solve challenges working with public health data. We refer to each of these tools as a "Building Block". Some Building Blocks offer relatively simple functionality, like standardizing patient names, while others perform more complex tasks, including geocoding and standardizing addresses. Importantly, the Building Blocks have been carefully designed with common inputs and outputs making them easily composable.
The composable nature of Building Blocks allows them to be strung together into data pipelines where each Building Block represents a single step in a pipeline. As an example, let's consider a hypothetical case where a STLT would like to improve the quality of their patient address data and ensure that patient names are written consistently. They could solve this problem by using the name standardization and geocoding Building Blocks, mentioned in the previous section, to build a simple pipeline that standardizes patients' names and geocodes their addresses. Non-standardized data would be sent into the pipeline, where it would pass through each of the Building Blocks, and then exit the pipeline with standardized name and address fields. STLTs are welcome to use Building Blocks to create their own custom pipelines. However, because many STLTs are facing similar challenges with their data this repository implements two pipelines, developed by the PHDI team, centered around a GCP FHIR Store. The complete architecture for this system is shown in the diagram below.

The ingestion pipeline is intended to allow STLTs to easily bring data that is reported to them into their system after performing standardizations and enrichments. Source data can be provided in either Hl7v2 or C-CDA formats allowing this single pipeline to manage ingestion of ELR, VXU, ADT, and eCR messages. The pipeline is able to support both data types because the inital step is to convert to FHIR. After this conversion the pipeline is able to handle all reported data the same way by simply processing the FHIR bundles, collections of FHIR resources, that result from the conversion. Once data has be converted to FHIR the following standardizations and enrichments are made:
- Patient names are standardized.
- Patient phone numbers are transformed into the ISO E.164 standard international format.
- Patient addresses are geocoded for standardization and enrichment with latitude and longitude.
- A hash based on a patient's name, date of birth, and address is computed to facilitate linkage with other records for the same patient.
After the data has been cleaned and enriched it is uploaded to a FHIR Store where it can serve as a single source of truth for all downstream reporting and analytics needs.
The analytics pipeline provides a mechanism for extracting and tabularizing desired data from the FHIR Store. Users define schemas describing the table(s) they would like from the FHIR Store and submit them to the analytics pipeline. The pipeline then interprets the schemas, queries the FHIR for the necessary data, transforms the un-structured FHIR resources into tables, and makes these tables available for reporting and analysis.
We have only provided a brief overview of PHDI, Building Blocks, and the pipelines we have designed. For additional information please refer to the documents linked below.
In this section we describe how a STLT can take this repository and use it to spin up all of the functionality that it offers in their own GCP environment.
The steps below assume that a user:
- Has some familiarity working in a command line environment.
- Has a basic familiarity with GCP.
- The GCP getting started docs are available here.
- Has a GCP account with permissions to create new projects in your organization's GCP environment,
or a GCP account with
Owneraccess to a project in your organizations’ GCP environment that was created to house the PHDI GCP pipelines, and the name of this project.- If you do not meet either of these criteria contact the owner of your organization's GCP environment.
It is not recommended to exit the quick start script partway through so please have all values on hand when you run the script.
Required to use geocoding functionality:
SMARTY_AUTH_ID- Your SmartyStreet Authorization ID. More info on the Smarty geocoding service hereSMARTY_AUTH_TOKEN- Your SmartyStreet Authorization Token.
In this step we will work through GCP's Workload Identity Federation to grant your phdi-google-cloud repo access to deploy the pipelines to your organization's GCP environment. We have provided a script to automate most of this process that we recommend you use. However, if you prefer to work through it manually you may follow this guide.
Navigate to the Google Cloud Dashboard and open a Cloud Shell terminal:

From your Google Cloud account's command line:
- Clone this repository by running the following command:
git clone https://github.com/CDCgov/phdi-google-cloud.git && cd phdi-google-cloud- Run the quick start script:
./quick-start.shIf you plan to deploy to an existing project in your GCP environment, have the project name ready and provide it to the quick start script when prompted.
The script will take around 20-30 minutes to run. The last step will ask you if you want to deploy your pipeline. If you choose yes, you may skip Step 3 and go directly to Step 4 after the script completes.
If you choose to skip deployment in the Quick Start script, you are now ready to deploy the PHDI pipelines to your GCP project with Terraform via the provided Deployment GitHub Workflow. To run this workflow to deploy the PHDI pipelines to the development environment you created previously, follow the steps below.
- Navigate to
https://github.com/<MY-GITHUB-ORGANIZATION>/phdi-google-cloudin your browser. - Click on
Actionsnear the center at the top of the page.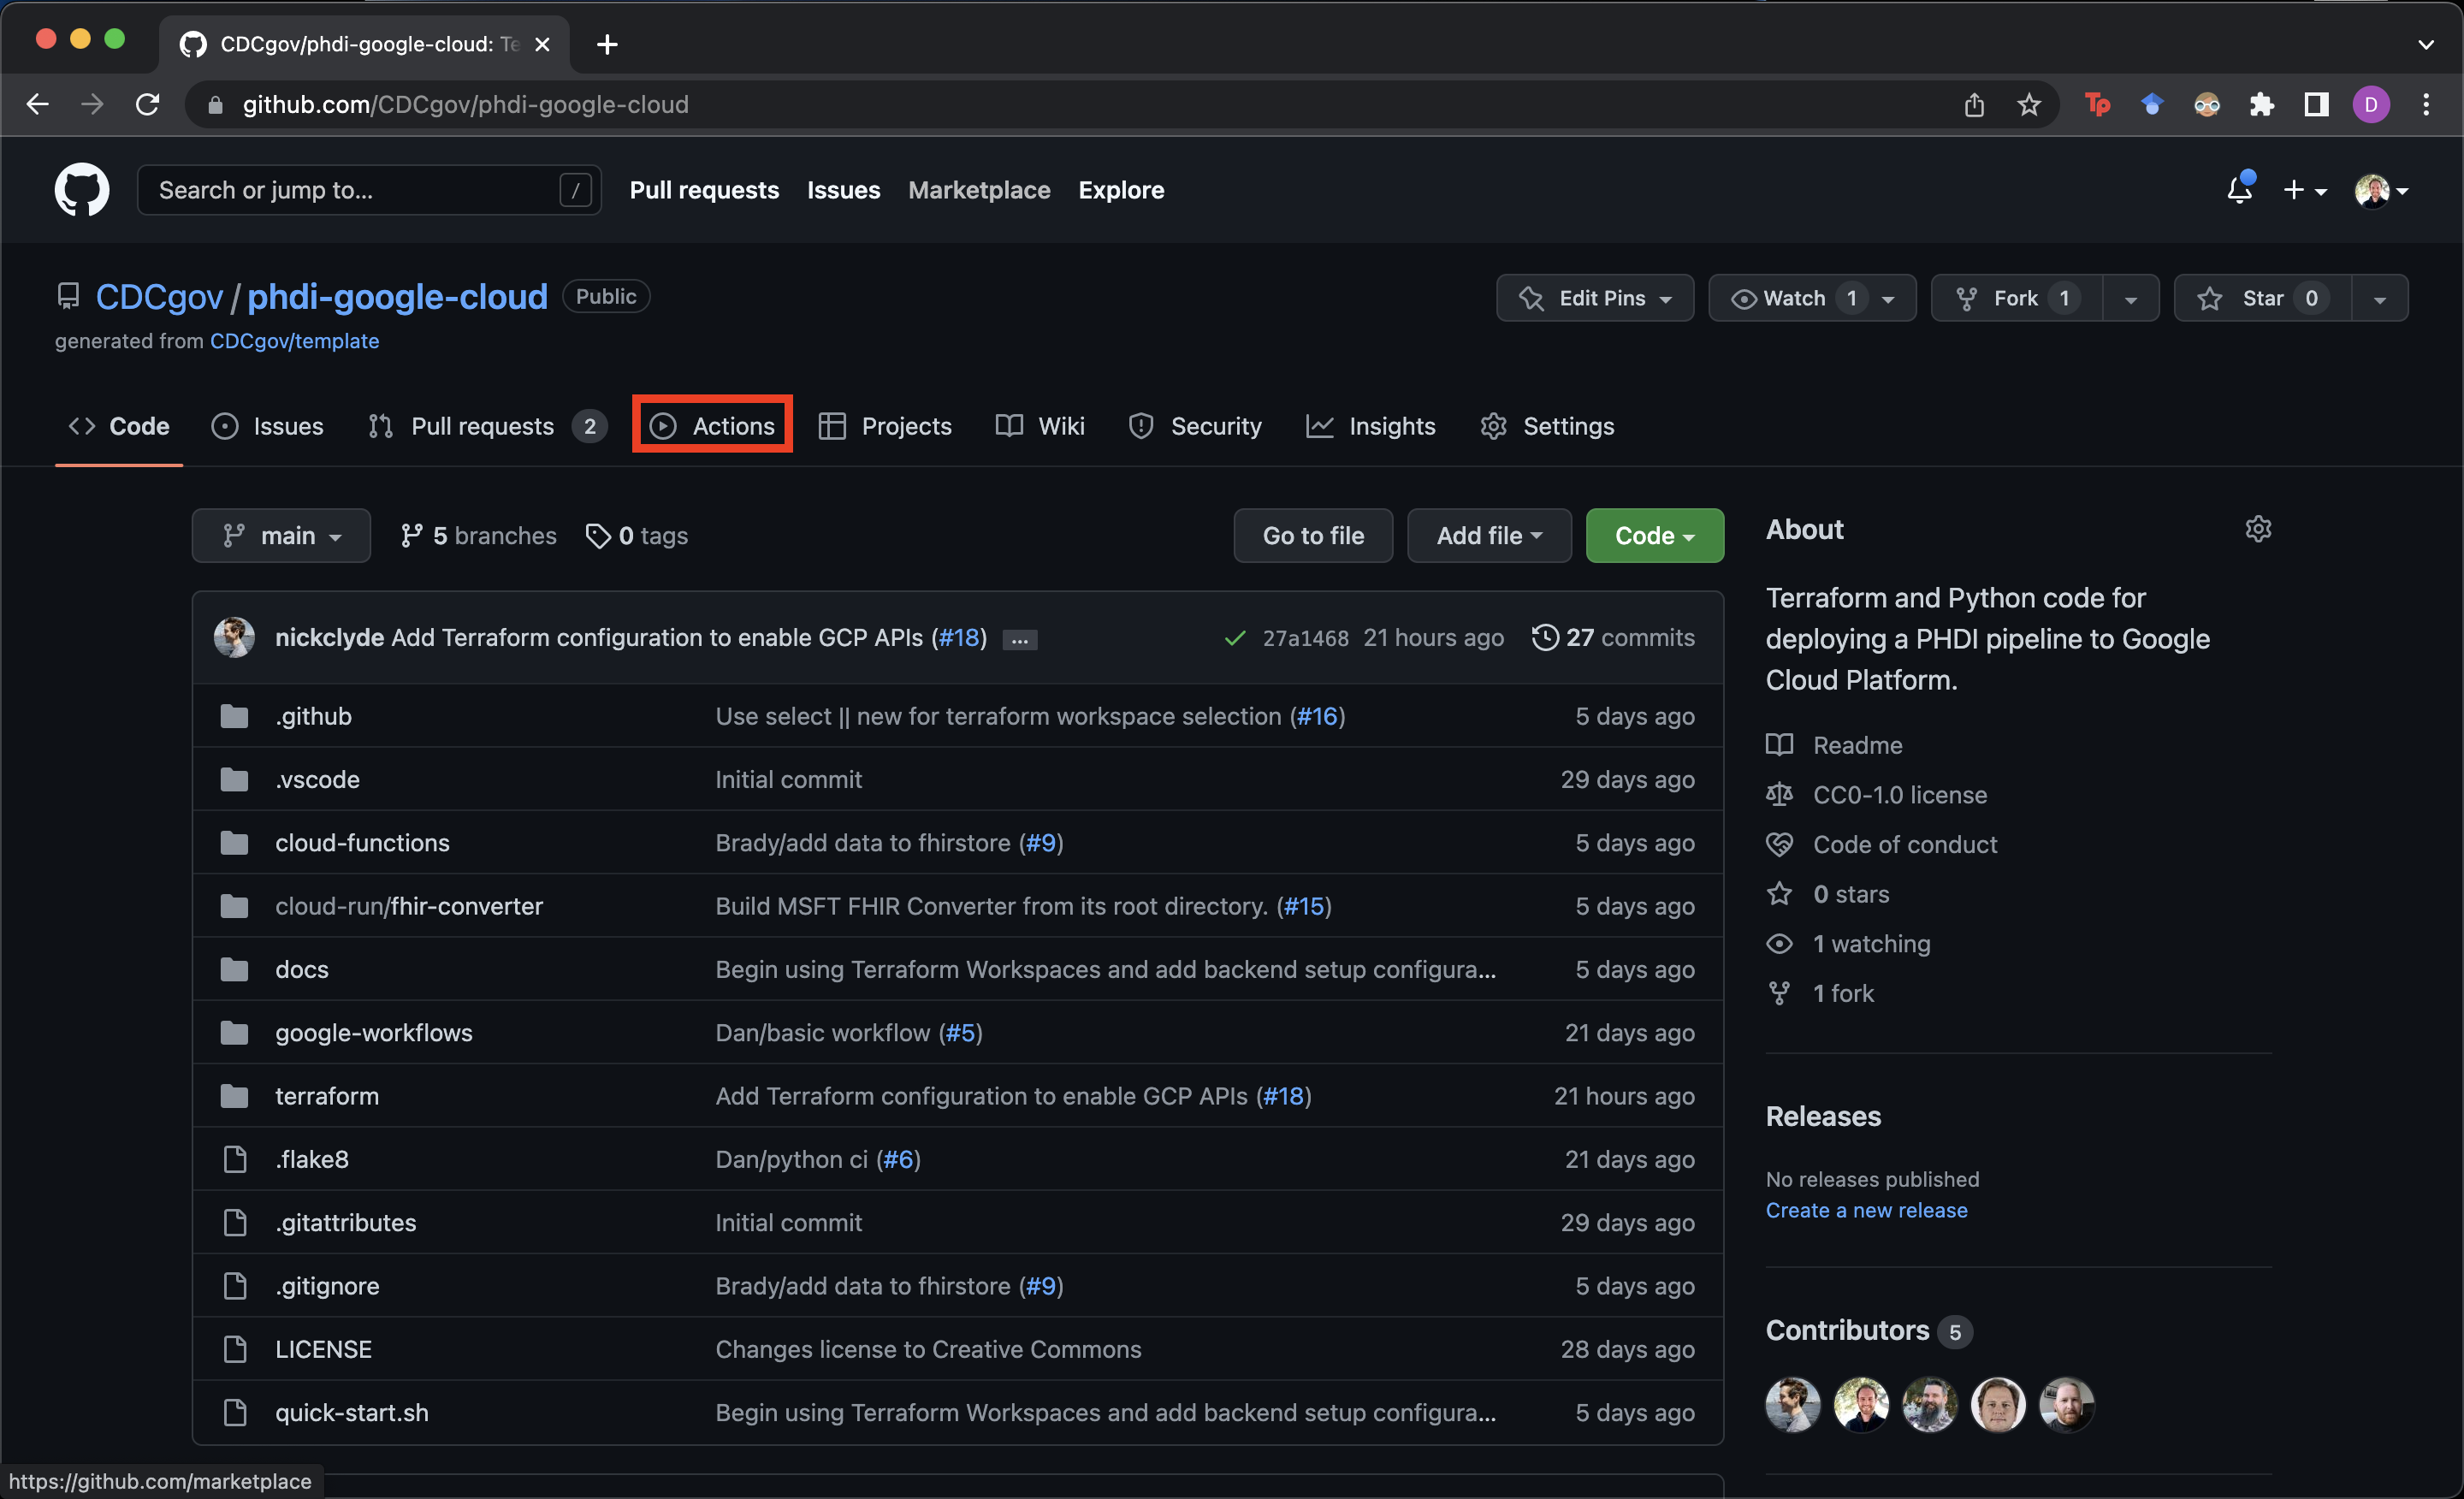
- Select
Deploymentfrom the list of Workflows on the left side of the screen.
- Click on
Run workflowin the middle of the right side of the screen.
- Ensure the
mainbranch is selected and choose the environment you wish to deploy to and click the greenRun workflowbutton. In the screenshot below we are deploying to our development environment which we have calleddev


Now that the starter kit has been deployed we can run some data through it! The sample-data/ directory in your forked version of the repository contains some dummy VXU messages that can be used to test the sucess and failure modes of the ingestion pipeline. To start let's lets use VXU_single_messy_demo.hl7 file that has a single VXU message. The PID segment of this message (shown below) contains some dirty data:
- The patient's name is mixed case and contains a numeric character.
- The patient's phone number is not in a standard format.
- The patient's address is non-standard and has not been geocoded.
PID|1|7777555^4^M11^test^MR^University Hospital^19241011^19241012|PATID7755^5^M11^test1|PATID7758^^^test5|
- doe .^ John1 ^A.
|TEST^Mother, of^L|198505101126+0215|M||2106-3^White^HL70005|
- 555 E. 3065 S.^^Salt Lake CIty^ut^84106^USA
||
- 801-540-3661^^CP
|||M^Married||4880776||||N^NOT HISPANIC OR LATINO^HL70189||N||US^United States of America^ISO3166_1||||N|||20080110015014+0315|||||||
If you would like, feel free to confirm that this is the case by inspecting the file directly in the text editor of your choice. To run this message through the ingestion pipeline follow the steps below.
- Open https://console.cloud.google.com/getting-started in your browser.
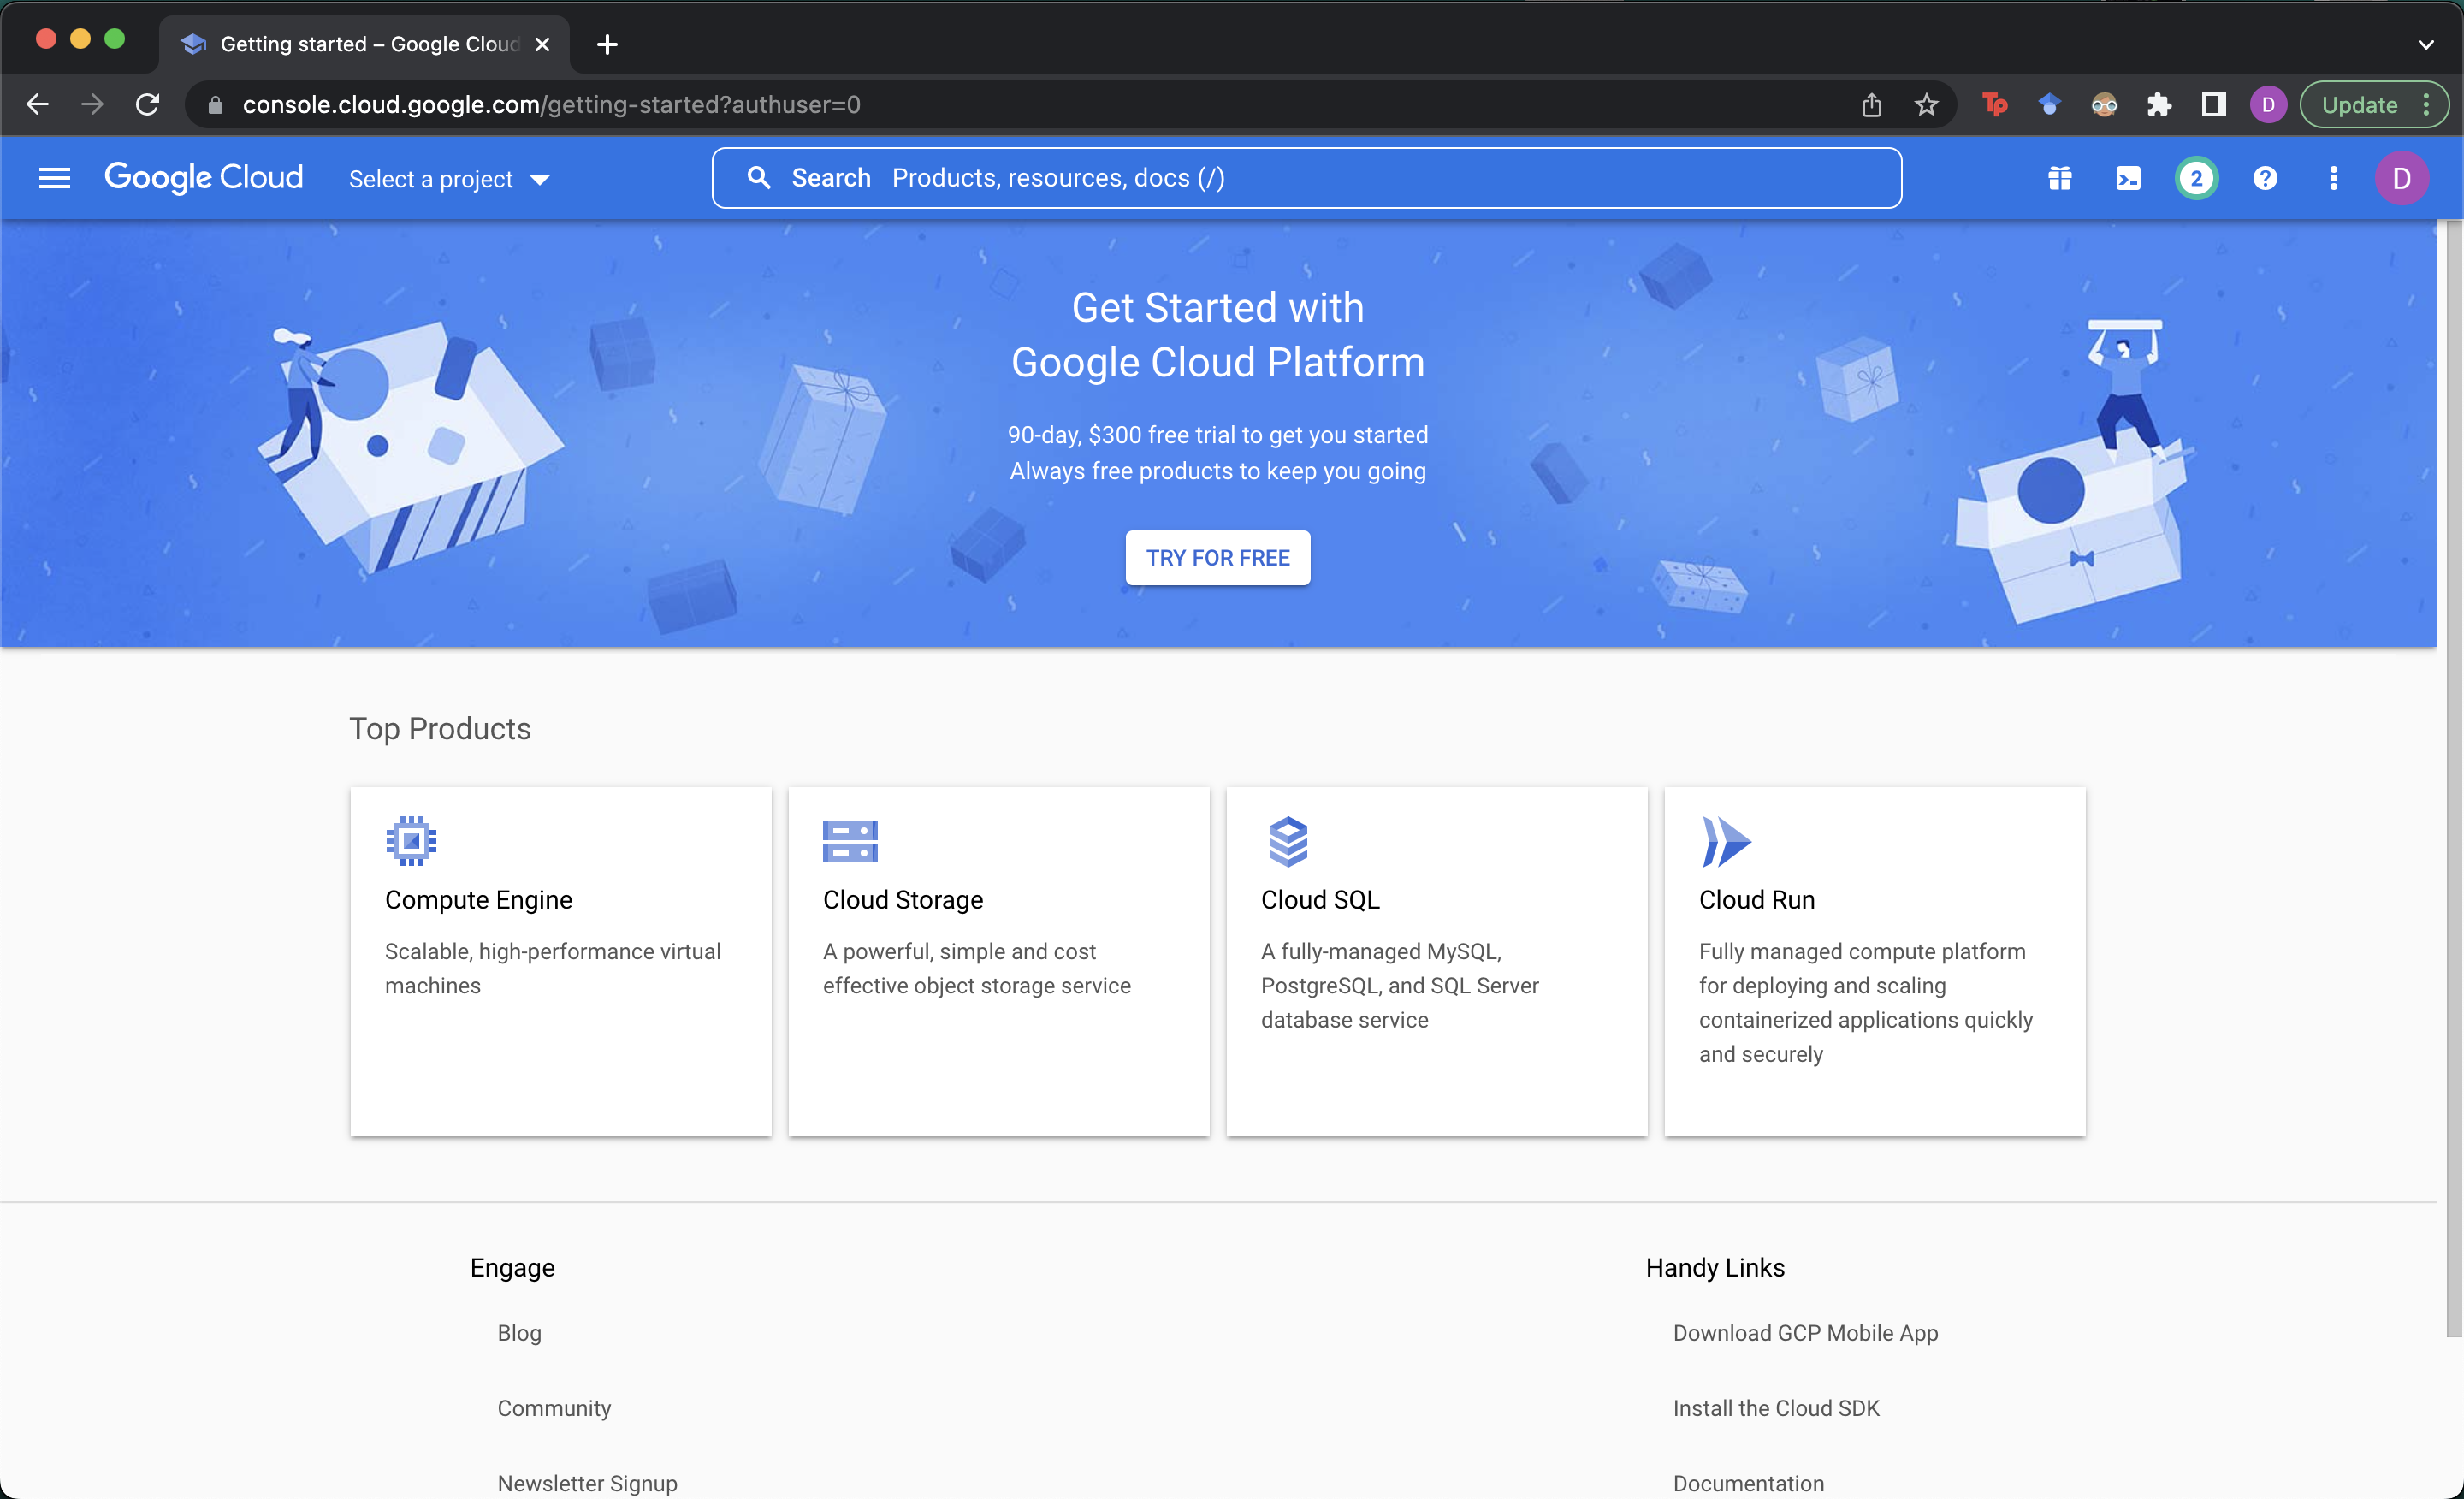
- Ensure that you are using the google account that has access to the GCP project we have used so far.

- Select your project.

- Search for and select
Cloud Storageto view all of GCP storage buckets we have deployed.
- Select the PHI bucket, which is where all Protect Health Information is stored outside of the FHIR server. The precise name of the storage bucket will have the form
phdi-ENVIRONMENT-NAME-phi-bucket-PROJECT-ID.
- Upload the
VXU_single_messy_demo.hl7file from thesample-data/directory of your forked version of the repository to thesource-data/vxu/directory of your PHI bucket. This can be done easily with theUPLOADbutton, or by clicking and dragging the file into the bucket. Note that because the ingestion pipeline is event-driven, simply uploading the file is all that is required to trigger the pipeline. There is an event listener monitoring the PHI bucket for file creation events.
- To see that the pipeline has executed search for
Workflowsand go to the Workflows page.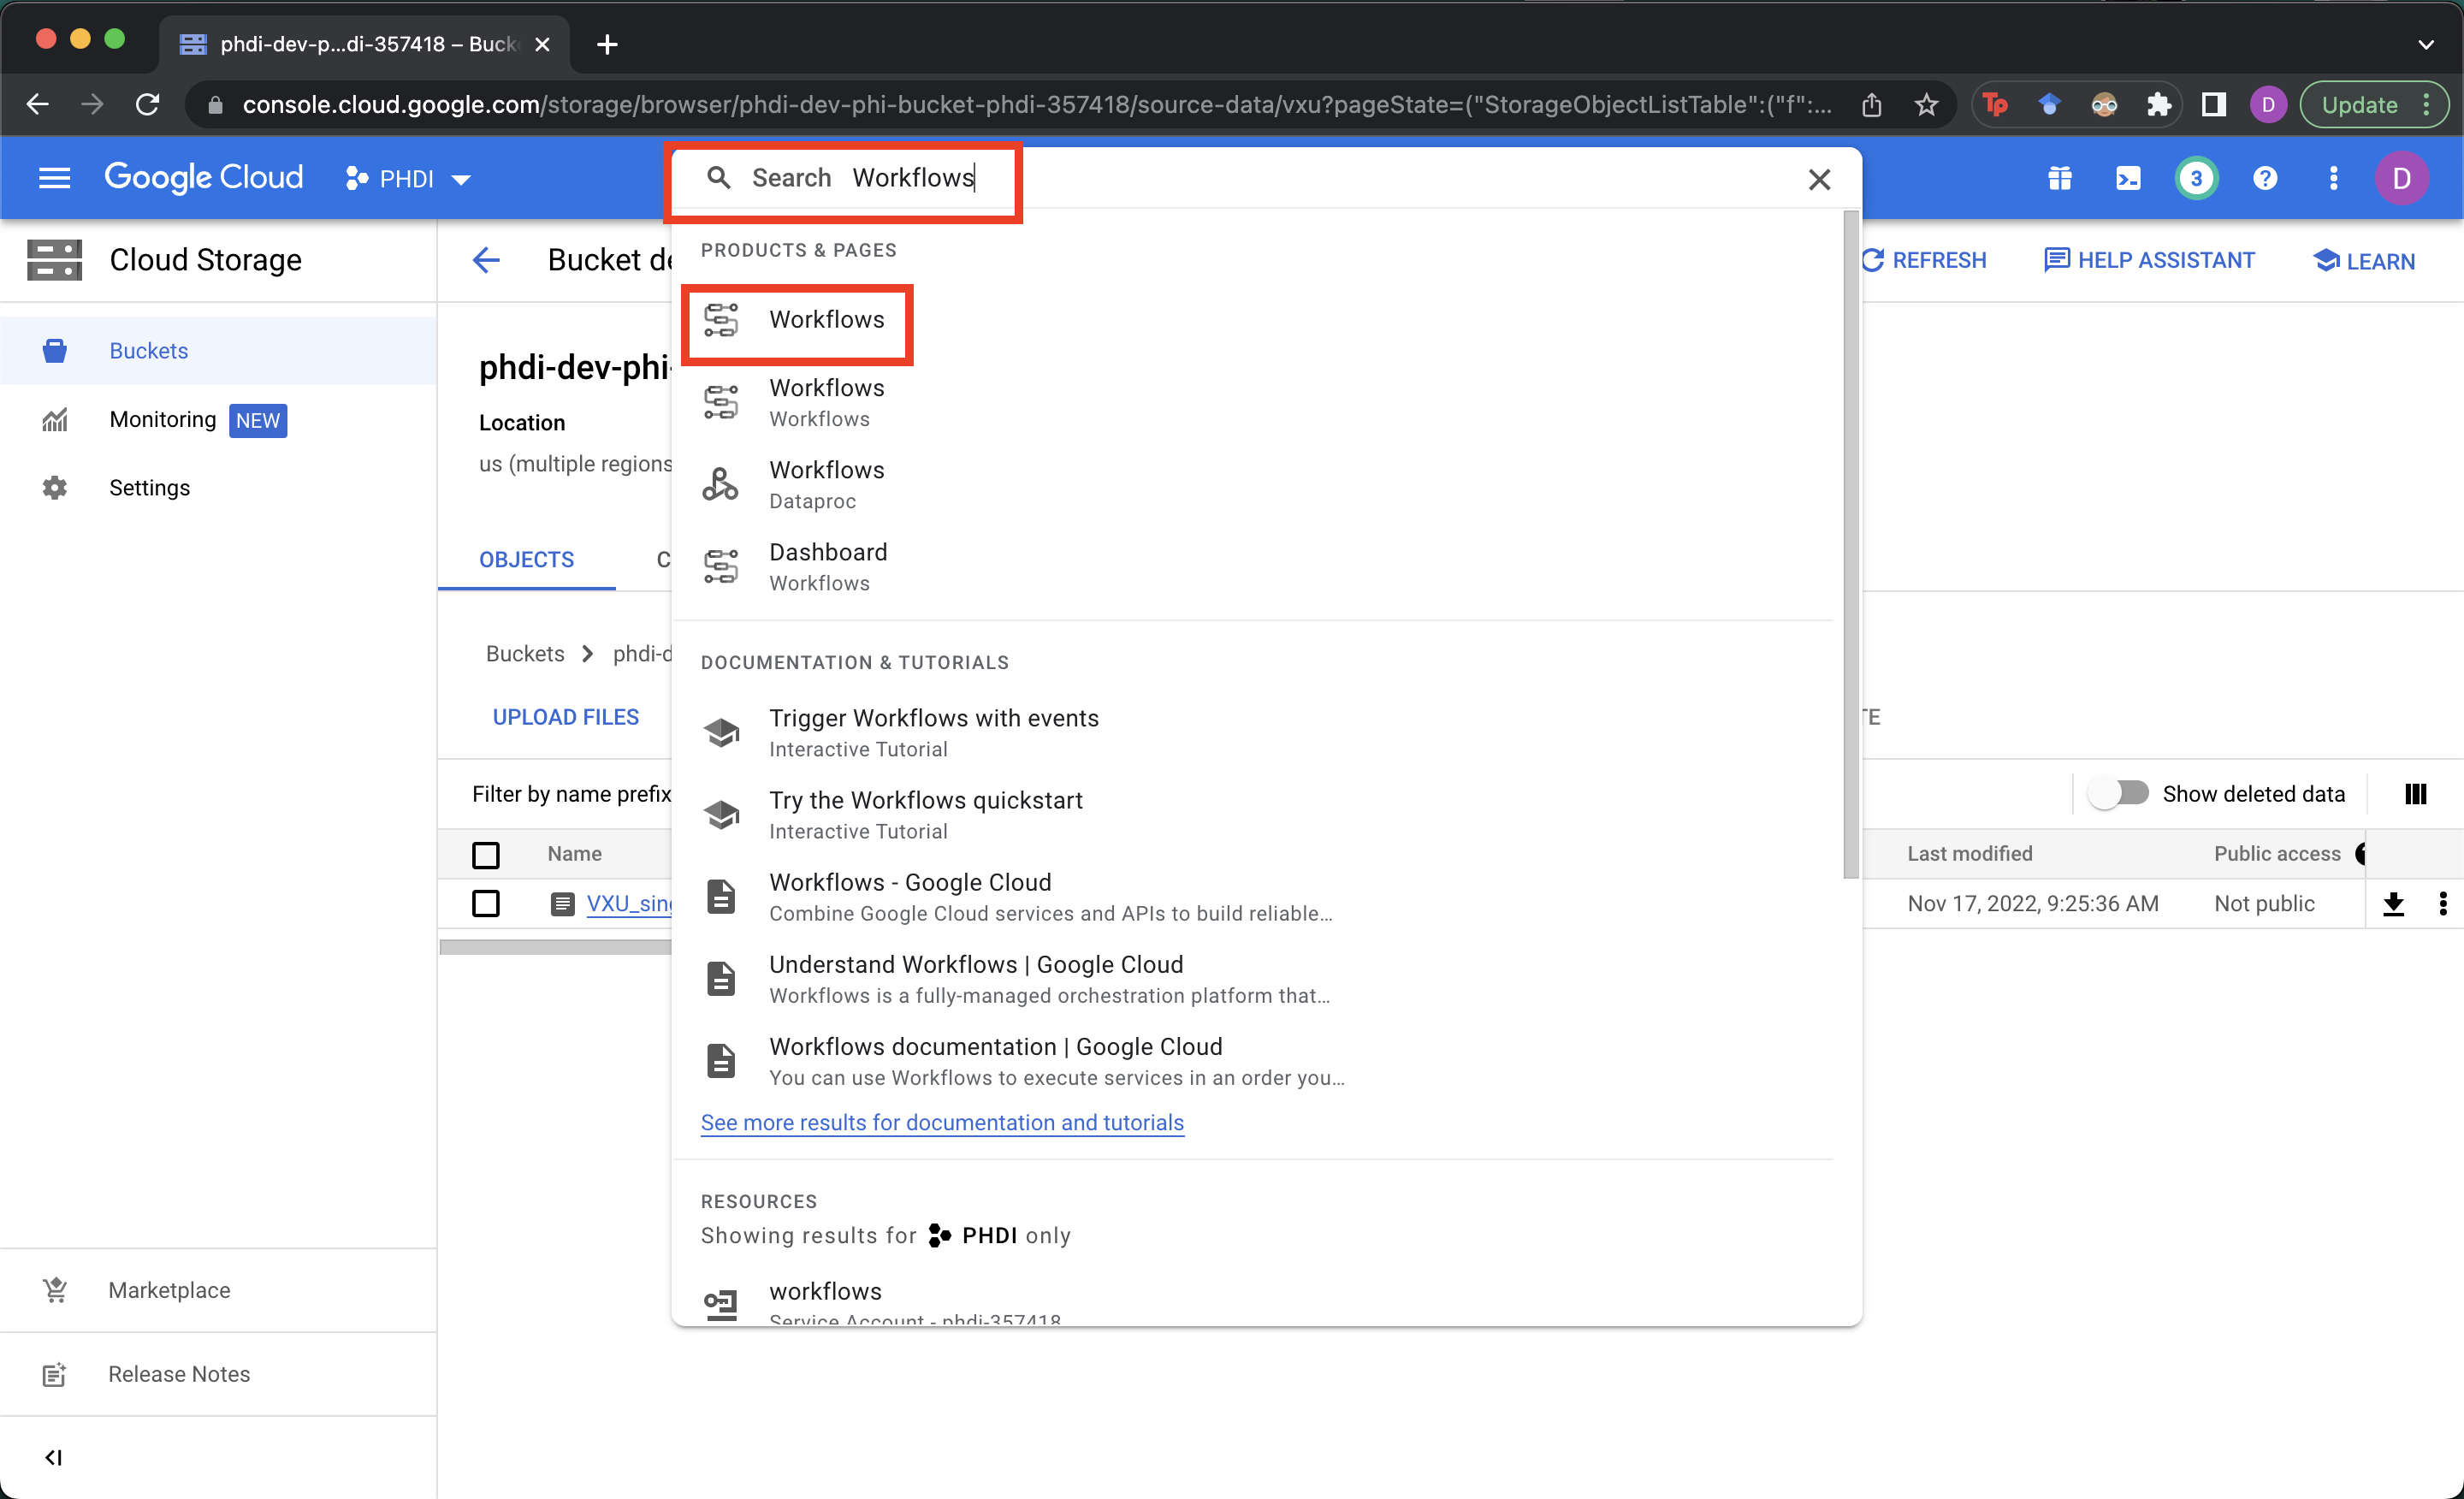
- Select the ingestion pipeline workflow.

- We should now see that the ingestion pipeline has processed one message successfully.

- To view the YAML configuration for the pipeline and a visualization of the process go to the
SOURCEtab.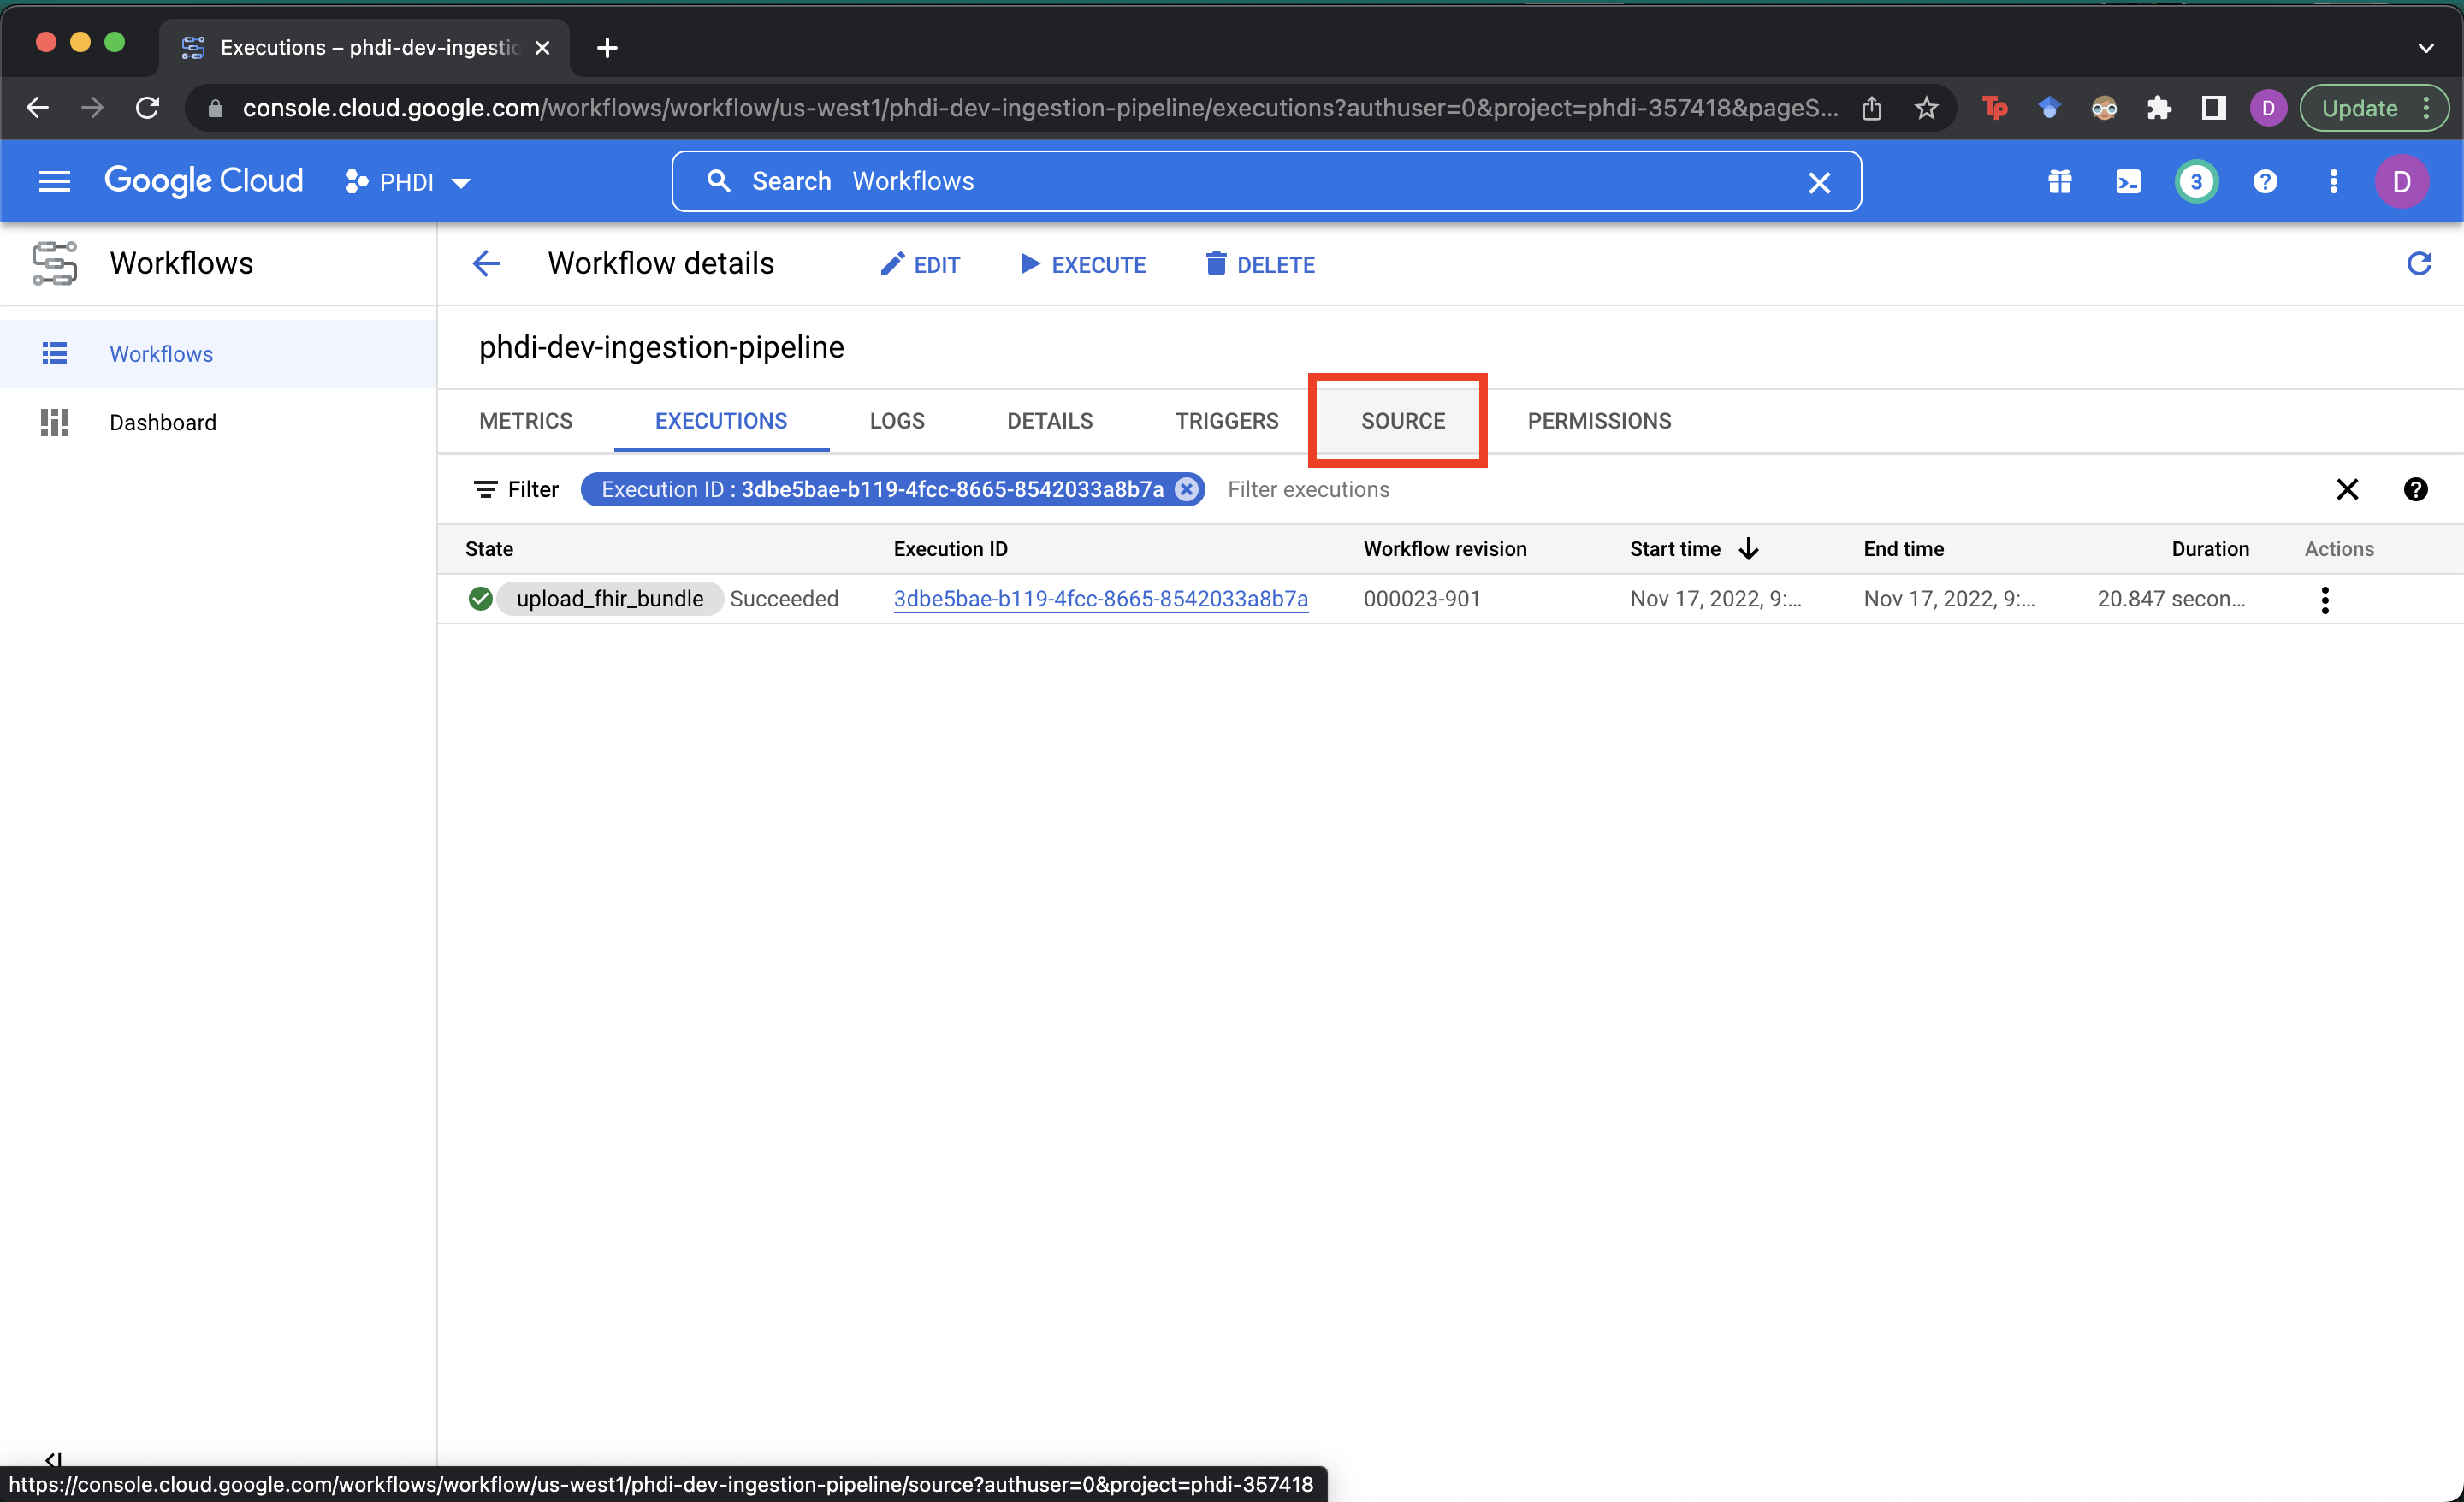
- To view the cleaned and enriched data in the FHIR server search for and select
FHIR Viewer.
- Select the FHIR store that we deployed.

- Go the
SEARCHtab, pastePatient?family=DOE&given=JOHNinto theNEW SEARCHwindow, and clickRUN SEARCH. This executes a search on the FHIR store for all Patient resources named John Doe.
- Select the Patient resource returned by the search and go to the
JSONtab.
- Scrolling through the JSON:


- Lines 10 through 35 show that the patient's address was standardized and enriched with latitude and longitude as a result of geocoding.

- Lines 144 through 152 show that the patient's name was standardized to upper case letters and all non-alpha characters were removed.
- Lines 154 through 160 show that the patient's phone number was standardized to the ISO E.164 format. All spaces and other punctuation were removed and the country code was included preceeded by a "+".


The table below describes the contents and expected ingestion pipeline behavior for each of the other files include in sample-data/. Feel free to try them out for yourself!
| Test File | File Contents | Expected Outcome |
|---|---|---|
| VXU-V04-01_success_single.hl7 | A single valid VXU message. | The ingestion pipeline will process a single message and upload it to the FHIR server. |
| VXU-V04-02_failedConversion.hl7 | A single invalid VXU message that cannot be converted to FHIR. | The ingestion process will fail during the initial conversion to FHIR step. Information about the failure is written to failed_fhir_conversion\vxu\. |
| VXU-V04-02_failedUpload.hl7 | A single VXU message that converts to an invalid FHIR bundle. | The ingestion pipeline will fail during the final step when it attempts to upload the data to the FHIR server. Information about the failure is written to failed_fhir_uploads\vxu\. |
| VXU-V04-02_success_batch.hl7 | A batch Hl7 message containing two valid VXU messages. | The ingestion pipeline is triggered twice and runs successfully to completion both times. |
| VXU-V04-03_batch_1_success_1_failConversion.hl7 | A batch Hl7 message containing one valid and one invalid VXU message. | The ingestion pipeline will run twice. On one execution it successfully process the data and uploads to the FHIR server. On the other execution it fails. |